
For the past several years I've intended to make more effort to give handmade gifts. I usually end up with only a few. If I started those projects earlier than the week before Christmas, I'd surely be more successful! Oh, well...
I have just one handmade gift to give and it's for my littlest man, Si-guy. At least I have a "better" excuse this year...a 10 week old lovie boy. And so, in true Kiley-Christmas-fashion, I thought of and started this project just two days ago. I wasn't sure exactly what I would make but I've been dying to cut into my vintage sheet stash so I dug out blues and greens - but no florals! My other goal was to use what I all ready had on hand...a "free" project!
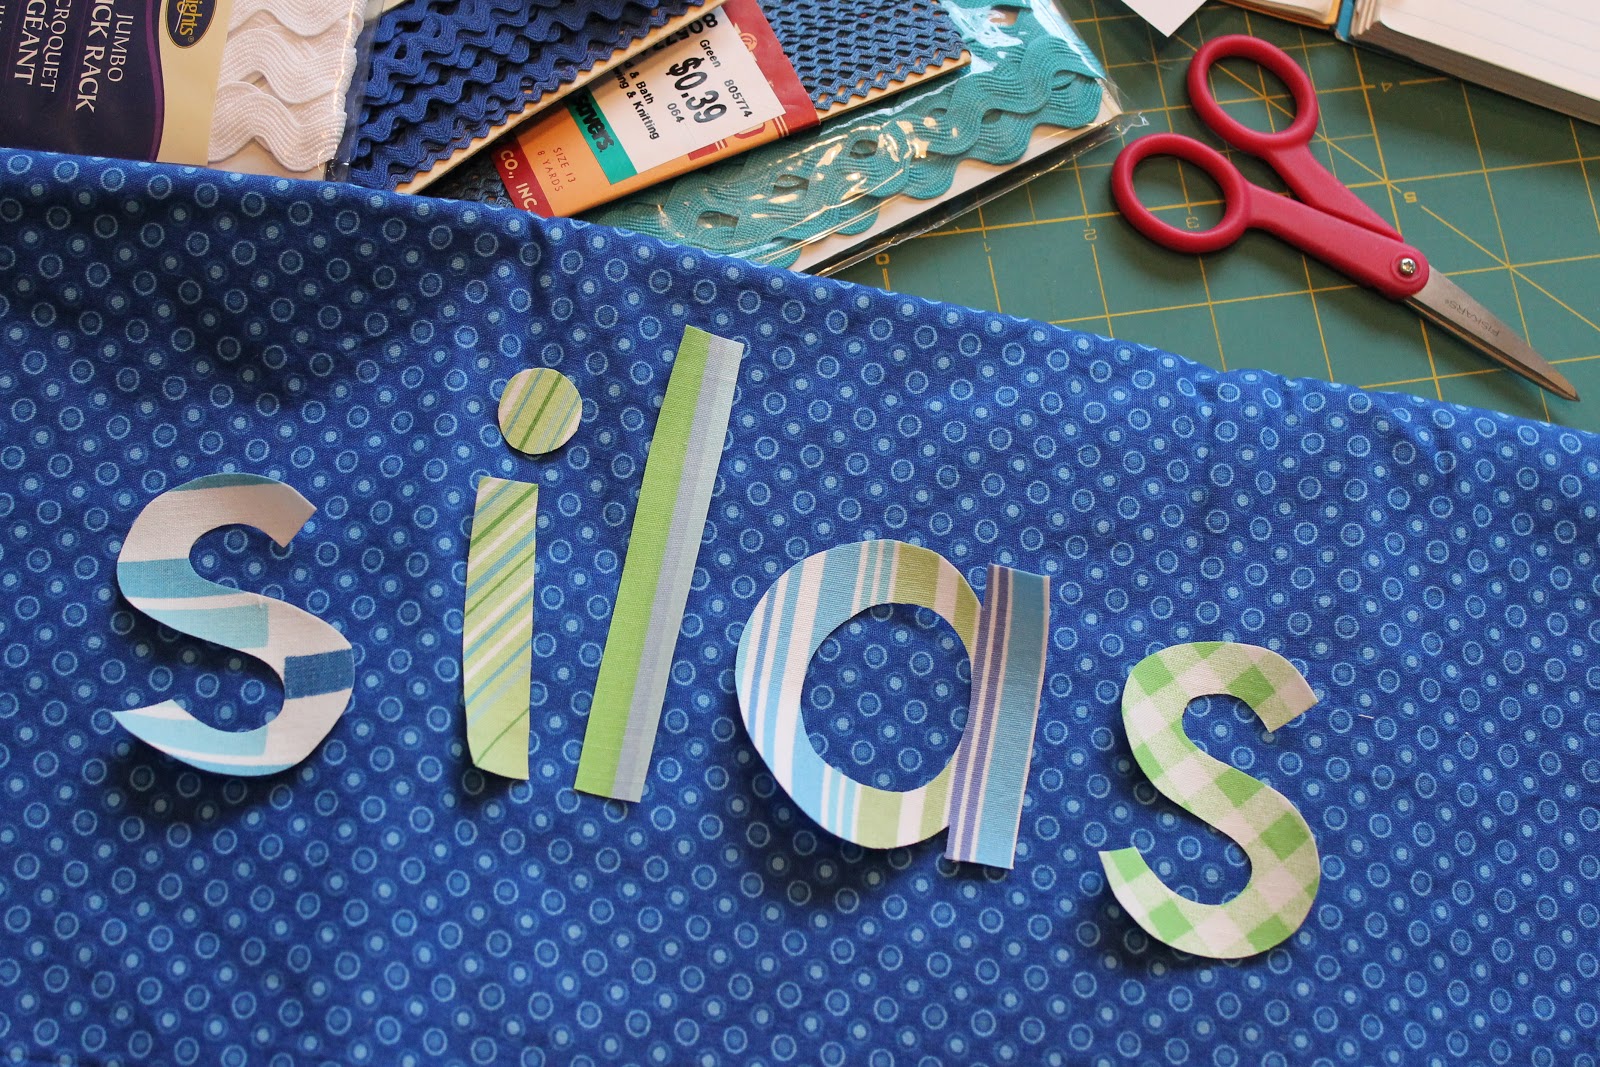
I knew I wanted to put his name on the project. I knew I wanted this project to be really special because, quite honestly, we aren't purchasing Christmas gifts for him this year. I did pick up a like-new wooden bead toy for him at the thrift store but other than that he's going to simply enjoy the gift of love and snuggles from everyone. Is that horrible?!

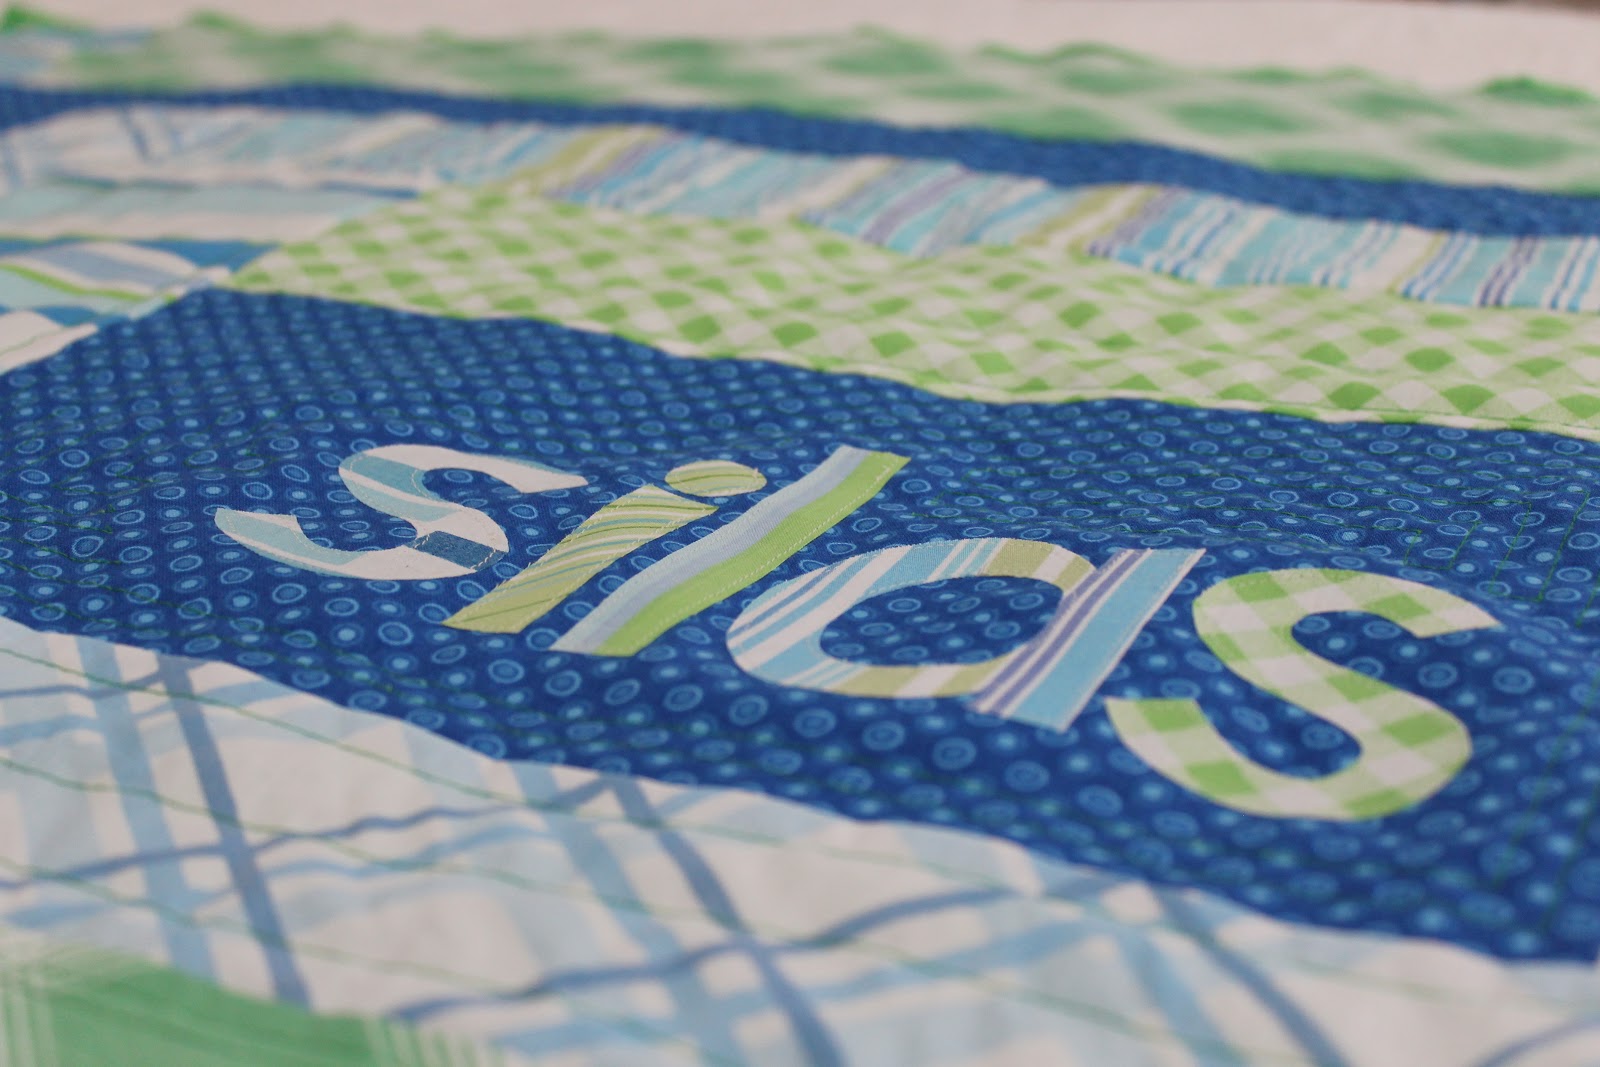
It turns out, once I got started, there was a soft snuggly blankie just dying to be created! I LOVE it!!! I choose a wonky (or liberated, if you prefer...) log cabin block. I've never made this quilt block on this scale before. It was quick and easy to piece together. And, if you've read any of my other sewing posts, you know that I really prefer the creative process of not using a pattern. I love figuring things out and seeing how projects evolve through the process - not being bound by the rules and restrictions of following patterns.

I completed the top and simply quilted minky dot fabric to the backside of the quilt top - no batting in between the layers. It's light feeling, but still has some weight and warmth. I cut the minky fabric about an inch bigger than the quilt top and in the end, decided to tuck and fold the minky over to the front as the binding after trimming it a bit. A zig-zag stitch finished it off so nicely. The edge is a bit "bumpy" due to the dots on the minky. I would imagine plain minky would not create bumps like this. Completing the binding this way probably saved me a day's work rather than adding a traditional quilt binding. Easy peasy!

I used fusible web to attach his name with a simple straight stitch to tack it down permanently. I assume the edges will fray a bit but I'm okay with that!

Won't these colors be so perfect for Silas' room makeover this winter?! My color scheme is based on maps, globes, and vintage children's geography puzzles...

Hwin approves! Silly kitty kept sneaking into my pictures!

I've been wanting to branch out a bit from my doll making and find a few new items to make and sell via etsy using vintage sheets...I might be onto something here!
Either way, I think I've got a great idea for handmade baby gifts in the future!
Christmas Blessings to you and yours!
2 comments:
Your blankie is absolutely awesome!! Thanks so much for sharing it with me. I appreciate your tips on uploading photos via html- I will give it a try. If I can get this figured out, I'd love to feature your blog and blankie on my blog one day soon :)
Happy New Year!
Thanks, Jennie! I'm completely in love with his blankie...it makes it that much sweeter to snuggle him close. I might need to make a grown up version because it's so comfy!
I'd love to be featured on your blog if you decide to do it. It would be a great opportunity to connect with new faces who share the same interests! Thanks!
Blessings!!!
Post a Comment