Showing posts with label Artsy. Show all posts

Tuesday, June 18, 2013

{Creative} Changes Coming

I just opened an account with picmonkey and I'm having tons of fun!  You'll be seeing lots of changes around my blog as I figure out how to update and create a new look with my limited skills.
 
Ever wonder where I came up with my blog name?  It's based on the sweetest song by Andrew Peterson called, "You Can Always Come Home."  I decided that I need to memorize the chorus and sing it to my kiddos all the time. 
 
Because it's true. 
 
And it's God's truth to each of us as well.
 

Sunday, February 17, 2013

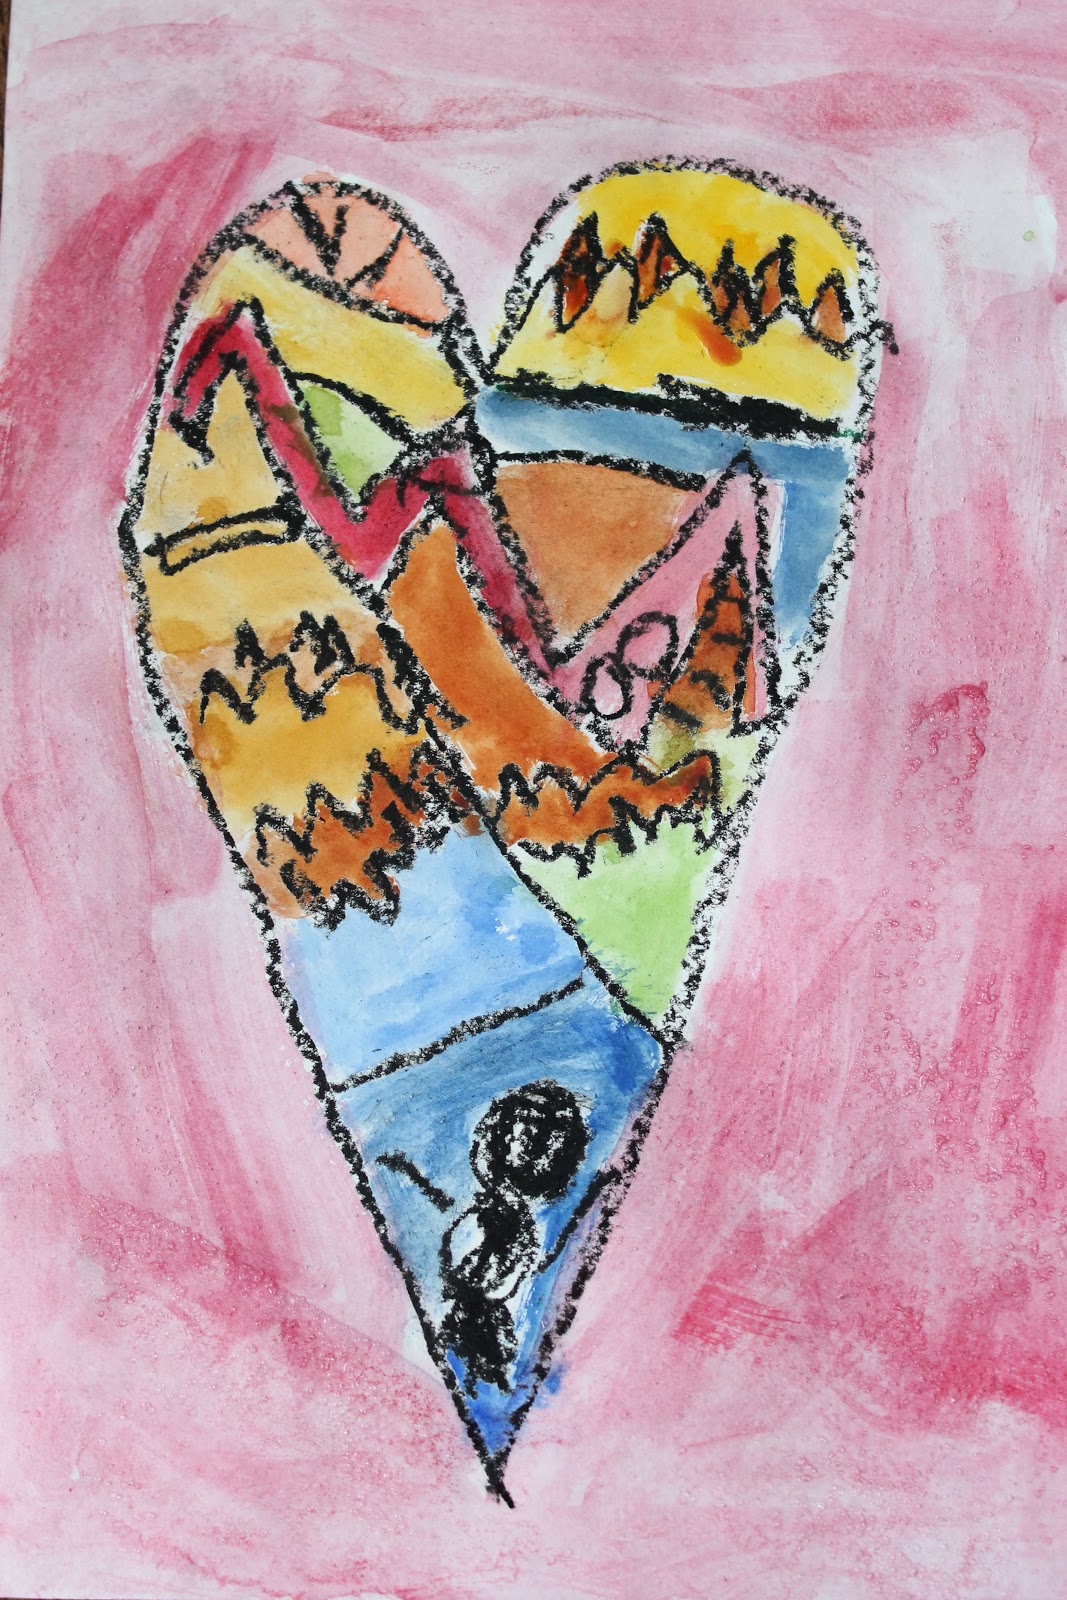
{Homeschool} The Shape of My Heart

I've been a long time fan of Deep Space Sparkle for our homeschool art projects though it's been a while since we've spent time doing any art.  Quite sad, I realized, while in the midst of this project seeing how much everyone was enjoying themselves.  The big boys creating.  Me snapping pictures.  (Silas napping.  Sadie resting and watching a Leapfrog dvd.)
 

I purchased the lesson plans and the book from Amazon for this project though most of the time I take advantage of the free plans available.


Listening to audio books while creating art is a great way to keep the chatter to a minimum and it allows us to study two subjects at one time!  I'm all about making the best use of our time!!!


I love how each heart is unique and so colorful!


Isaac, age 6  (do you see the ninja?)


Luke, age 8

 
Elijah, age 10

Friday, January 18, 2013

{Project 365} Day 17: Canvas Art

We are so blessed to have two of our cousins (and their mama) visiting us for a few days.  We had tons of fun completing this art project together!


{Project365}: capturing this life - one photo (or so) every day for one year

Saturday, September 22, 2012

Rise & Shine

I've been busy working on some fun projects over the past few weeks.  Today, I finally paired together this sweet print from Katie Daisy, a vintage sheet, and a thrifted frame my awesome husband painted for me. (He was already painting our coffee table this color anyhow!  LOVE this yellow and LOVE my coffee table!  I should post a picture of that some time, huh?!)


So bright and cheerful!

 
To keep the fabric from shifting, I used tiny dots of hot glue at the very edge of the backing board and two small pieces of double stick tape to attach the print to the fabric.  With the fabric, the backing board fits quite snugly in the frame so I don't expect any of it to shift!
 
Can't wait to get it on the wall in our half bath along with some other items!


Thursday, July 14, 2011

A Whole Lotta Cute for a Whole Lotta Nothin'

What do college friends and butterflies have in common? Nothing really unless you consider that one of my old college friends came for a visit and brought her butterfly punches with her.

Eight kids, six of them four and under. Two moms maintaining high hopes of crafting with said butterfly punches. Chaos along with fun. Laughter. Comfortable. Good times.

In between talking and caring for the kids, we did indeed find time to punch out our butterflies for this project. Just plain old hand powered punches by Martha Stewart (though she did bring her mother-in-law's Cricut...we were clueless! Ha!)

After my friend headed back home, while Sadie was napping, I grabbed a thrifted frame from my stash that was already painted white and started assembling my picture.

Side note: This type of project is the very reason I will be packing and moving all my unused frames and ugly dated pictures from the basement...not everything that is unused in storage should be eliminated!!! Mike, I'm taking my frames...grin!

I need to find spacers to go between the glass and the paper so the butterflies don't get smushed. I love it!!! Too bad it will have to be packed away until we get into our new house to be hung in Sadie's room.

This project cost me $0.00. I already owned the scrapbooking paper, glue strips, and frame!!! A whole lotta cute for a whole lotta nuthin'!!! But now I'm tempted to buy butterfly punches...


Inspiration photo here.

Thanks for bringing your gang here, Tarah! So fun to see you!!!

Thursday, July 7, 2011

Flower Power

I absolutely love kid's artwork....especially my boy's artwork. I'm biased...obviously. They did balk a tad when I told them we were drawing and painting large flowers. I got the idea here...a new resource for our homeschool art projects.


Didn't they do a great job?!


I asked them to touch all four sides of the paper, use bright colors (no brown, black, grey), and fill the whole page with color. Elijah's has the blue background. Luke's has the green background.


Isaac's is beautiful. Truly. I'm just glad he sat and attempted to make something pretty for mama...usually it is his goal to make it "ugly" and he giggles the whole time.


Ha, ha...sort-of.

Friday, March 11, 2011

Draw-It-Up Tote

I purchased a new sewing book Sewing School and it is perfect for learning the basics of hand sewing. It is intended for children and the projects are obviously for children, but adults with little sewing experience could certainly learn a lot from this book.

While I didn't necessarily intend to use this book with my boys, they browsed the pages and found these drawstring bags. They were practically begging me to let them make one of their own. Oh, the things they were imagining their bags could hold...tools, marbles, 5 smooth stones (if you're David from the Bible), weapons, flashlights and books for bedtime, bathroom stuff, and so on.

Daddy protested a little, but the boys had their hearts set on it...so I promised we would use "boy" fabric! Elijah and Luke did a great job sticking with it to complete their bags. Isaac did a great job being patient and watching mama sew his bag to show the bigger boys how to do it. That is, after he did a few stitches and sewed it to my bedspread! Ha, ha!


The totes turned out great and the boys were so pleased with their effort. After all, even boys need to know how to fix some stitches here and there in life, right?! And they have not done a single girly thing with the bags since they were finished!

The bonus for me is that we completed an "art project" for school today, too!!!


Isaac kissing his bag because he loves it so much...silly boy!

Saturday, March 5, 2011

Sewing Basket for Little Hands

If you've been reading along with me recently, you know that I've really been enjoying giving handmade gifts...mostly in the form of projects I've sewn. A friend directed me to a really neat gift idea for little ones - a sewing basket using many items that you might already own if you're a crafty person. I put these sewing baskets together for two sweet girl's birthdays.

I gathered a bunch of items - scraps of ric-rac, lace, & ribbon, chenille stems, embroidery hoops, chenille yarn (thrifted $0.79), spools of thread (thrifted $0.99), plastic containers, pretty doilies, flower sequins, rubber gripper shelf liner (purchased $1 each), cute baskets (thrifted $0.49 each), miniature fabric bags, felt, and buttons. I purchased a few more items not pictured - bag of colorful shaped buttons ($4.99), embroidery floss ($2.00 for 6 skeins), plastic blunt needles ($0.99 for 6), and I added a vintage hankie to each basket as well.


I sewed little tags for their sewing baskets. A 3x5 index card folded in half with a fabric heart sewn on the front. I put a teeny bit of glue on the fabric to hold it in place for sewing.


Some of the items rolled, gathered, contained in the fabric bags, and plastic container before squeezing it all into the sewing basket.


All packaged up and ready to go!


A great way to use scraps and novelties and inspire creativity!!! In all, I spent about $14 for supplies some of which I still have leftovers for the next sewing basket! I know some parents and kids might not appreciate a gift like this with some of it being thrifted and leftovers, but I'm sure the little girls getting these baskets will thoroughly enjoy them. I would be thrilled if Sadie received a gift like this from a dear friend! Gee, I think I would enjoy getting a basket like this!!!

Monday, January 10, 2011

In Your Face Cow

Time for an art project!!! I loved this project when I first saw it here... I've always had an odd affection for cows...maybe because I love milk or maybe because I grew up surrounded by dairy farms or maybe just because I'm weird. I still don't mind their nose tickling stench...smells like home. Not literally, but it reminds me of Independence and Hallsport, old neighbors, bike hikes with friends (Annie), the General Store where we bought penny candy and 10 cent popsicles, the crick where we swam and explored, and the church where my faith began to grow. I no longer own all the cow figurines and paraphernalia I had as a child, but now I've got something better! Great cow art by my boys!


Elijah, 8 years


Luke, 6 years


Isaac's UGLY cow (with a little assistance with drawing), 4 years

Wednesday, December 15, 2010

Watercolor Christmas Trees

We spent some time this afternoon creating these Christmas trees. All you need is watercolor paper, watercolors, white tempera paint, and a sharpie! I might have to hang these up in place of our usual Christmas tree. A real Christmas tree with all its falling needles is not the best option for helping to keep the house clean during this selling season. Although, I do think we might take up a friend's offer of an artificial tree this year! Can't NOT have a tree...


Elijah


Luke


Isaac's - I took a different approach with him because he tends to get mostly water and little color when painting. I drew the shapes on construction paper for him to cut out and he glued them in place. The hole punch made great little snowflakes!

Tuesday, December 14, 2010

Art Projects

Luke - self portrait with waving hands


Eli - self portrait with waving hands


Overlapping Bubbles - Eli


Autumn Night in Tissue Paper